Creating an Account
The account creation wizard is available at /create-account. It is a 4-step flow for self-serve registration. Users onboarded directly by the Amani team may not use this flow.
If your organization is provisioned by the Amani team, contact your account manager for access instead of using this flow.
If you arrived here from the Amani pricing page, your region and plan may already be pre-selected in step 1.
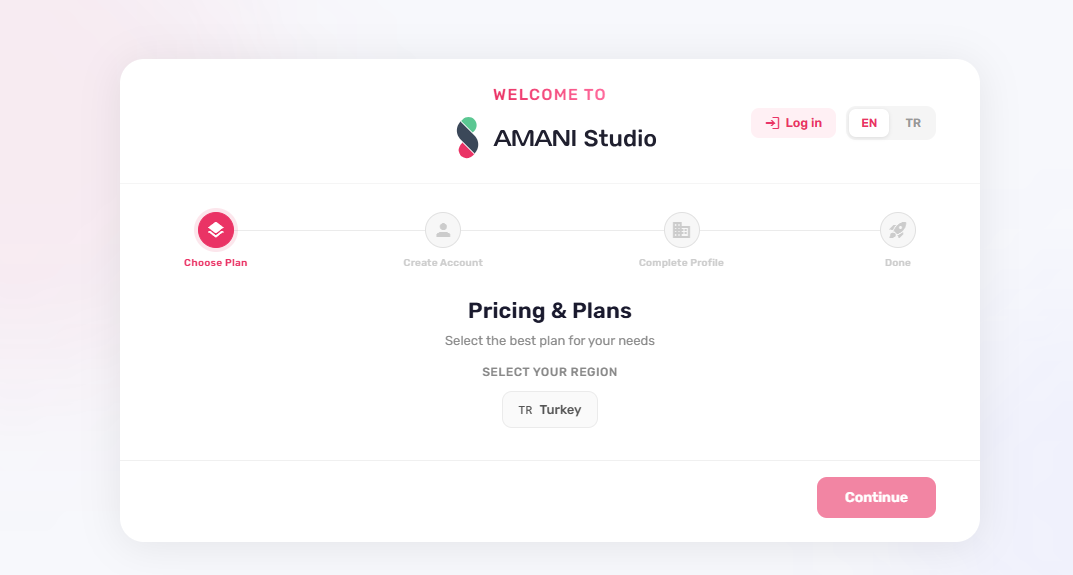
Step 1 — Choose Plan
- In Select Your Region, choose the region for your Studio environment.
- Review the available plans for that region.
- Click a plan card to select it.
- Click Compare all features to open the plan comparison table.
- Click Continue to proceed.
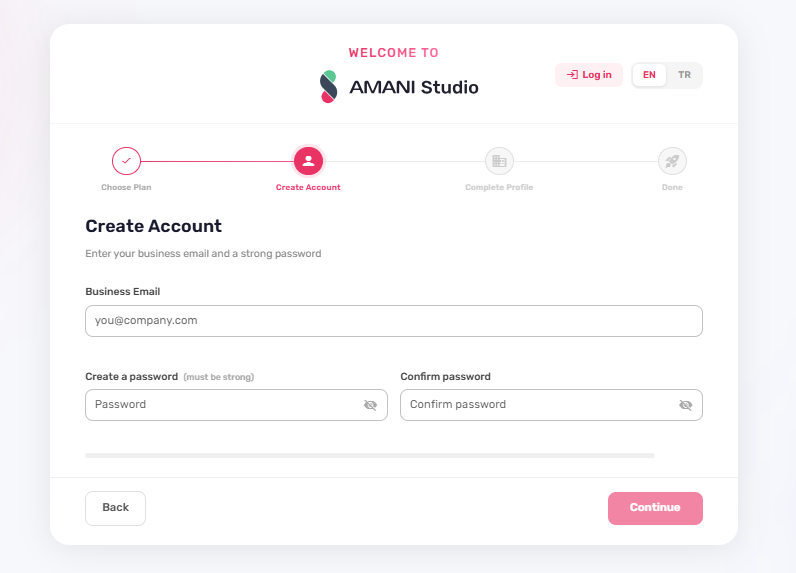
Step 2 — Create Account
- Enter your business email address.
- Enter and confirm a password.
- Click Continue.
If you reach step 2 without a region selected (e.g., by navigating directly to /create-account without query params and skipping step 1), a warning banner is displayed. Return to step 1 to select a region before proceeding.
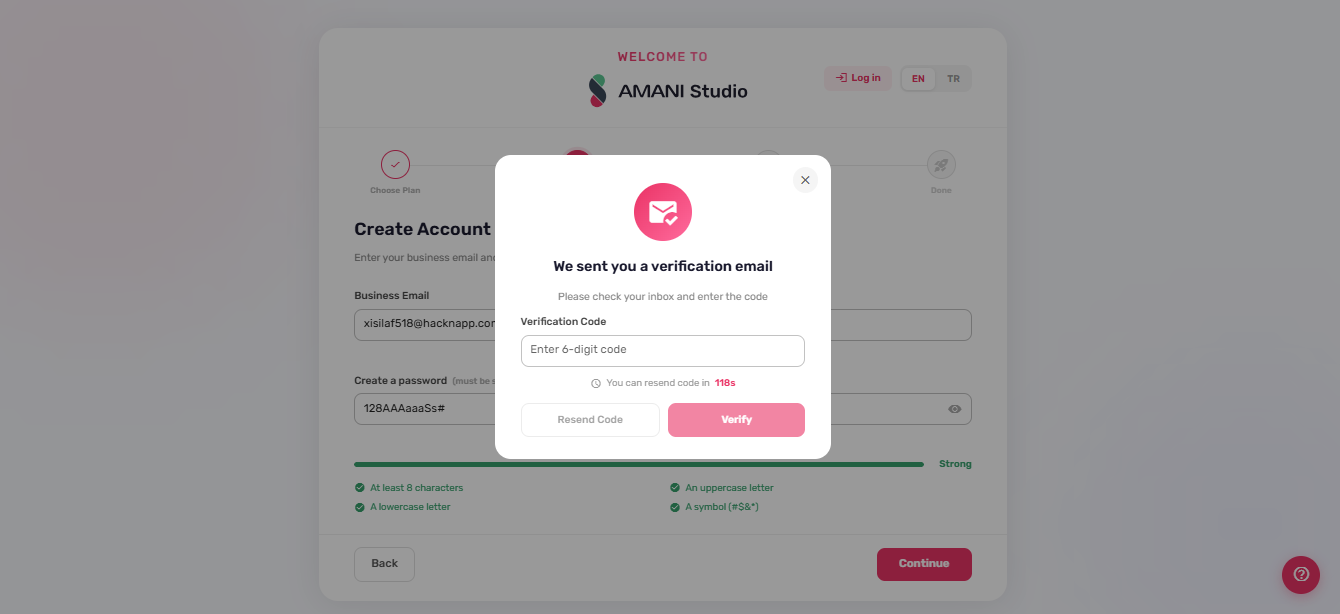
Email Verification (OTP)
After clicking Continue on step 2, an OTP verification dialog appears:
- Enter the code sent to your email address.
- Click Verify to confirm.
- If the code has expired, click Resend code after the timer ends.
If the email address is already registered, an "Email Already Registered" dialog appears. From this dialog you can either navigate to the login page or close the dialog and enter a different email address.
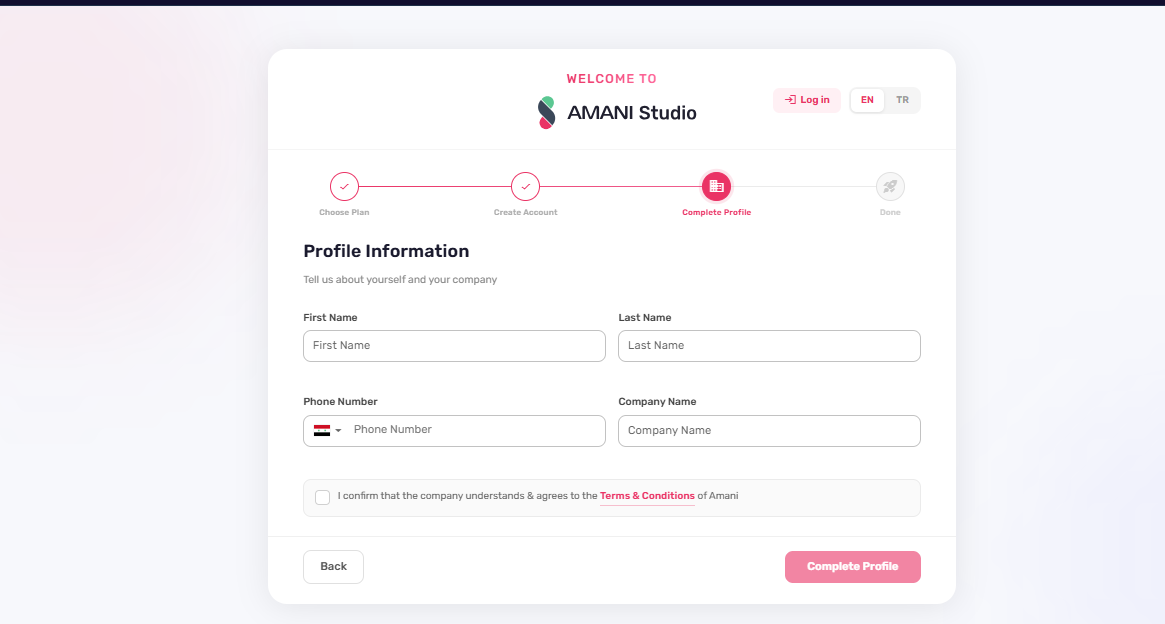
Step 3 — Complete Profile
- Enter your first name, last name, and phone number.
- Enter your company name.
- Accept the Terms and Conditions.
- Click Complete Profile to submit.
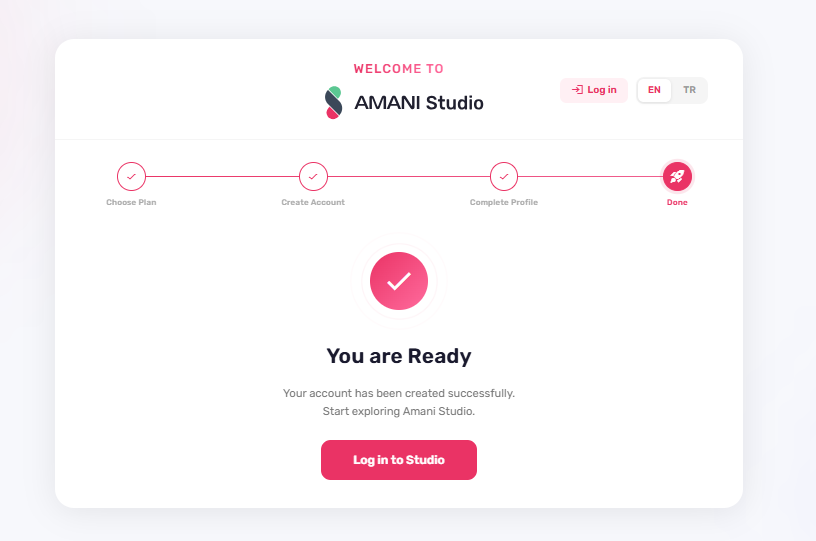
Step 4 — Success
After profile submission, the success screen is displayed and account setup is complete.
Draft Persistence
The wizard saves form progress to browser local storage (key: stp_draft). Partially completed forms are restored if the page is reloaded before the flow is finished.
Navigation
- The Back button is available on steps 2 and 3. It is not shown on step 1.
- The footer Next button label is Continue on steps 1 and 2, and Complete Profile on step 3.
- The footer is hidden on step 4 (success screen).
Language
The page header includes a language switcher with two options: EN (English) and TR (Turkish).
Help
A help widget is available throughout the flow. Use it to submit a support message at any point during account creation.