User Management
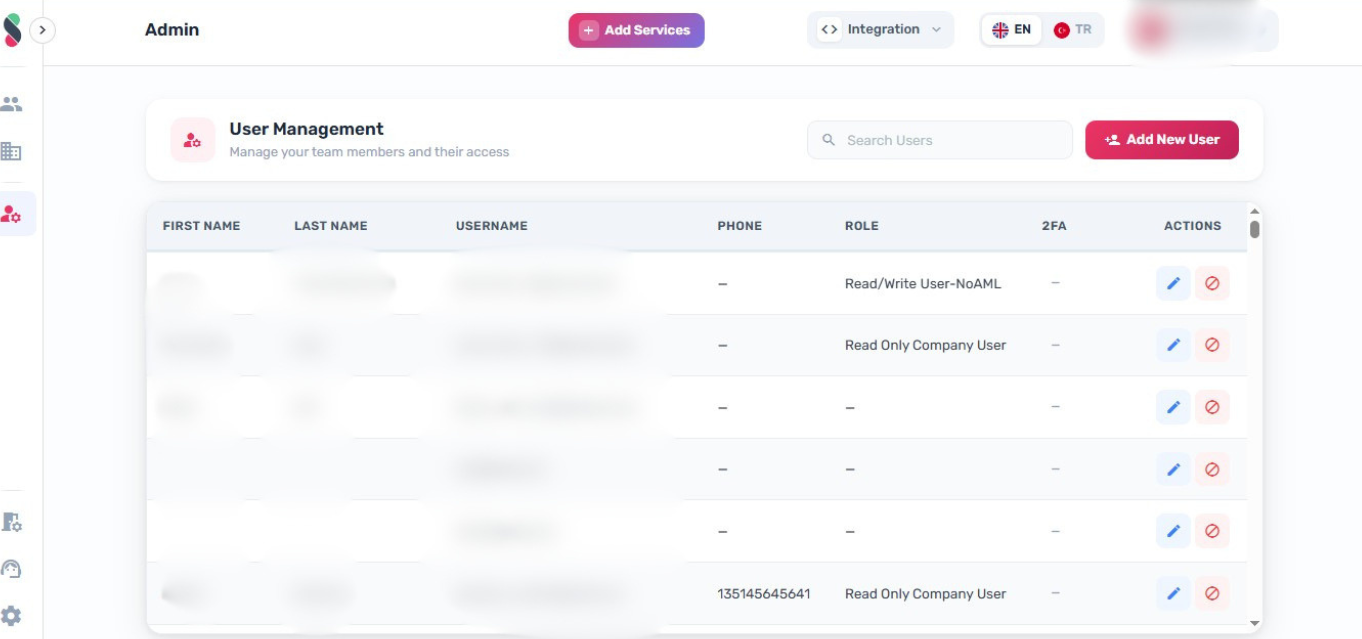
The User Management page is located at /admin and is restricted to users with administrator access (requiresAdmin: true). It lists all users in the organization and provides controls to add, edit, enable, or disable user accounts.
User List
The user table displays the following columns:
| Column | Field | Notes |
|---|---|---|
| First Name | first_name | Sortable |
| Last Name | last_name | Sortable |
| Username | username (email) | Sortable |
| Phone | phone | Sortable; displays — if not set |
| Role | groups[0] | Resolved from the organization's group list |
| 2FA | mfa | Displays an "Enabled" badge or — |
| Actions | — | Edit and Disable/Enable buttons |
A search input in the page header filters the list by name or username. The list is sorted by user ID ascending on load.
The Add New User button is only visible to users whose permissions include add_user.
Access Roles
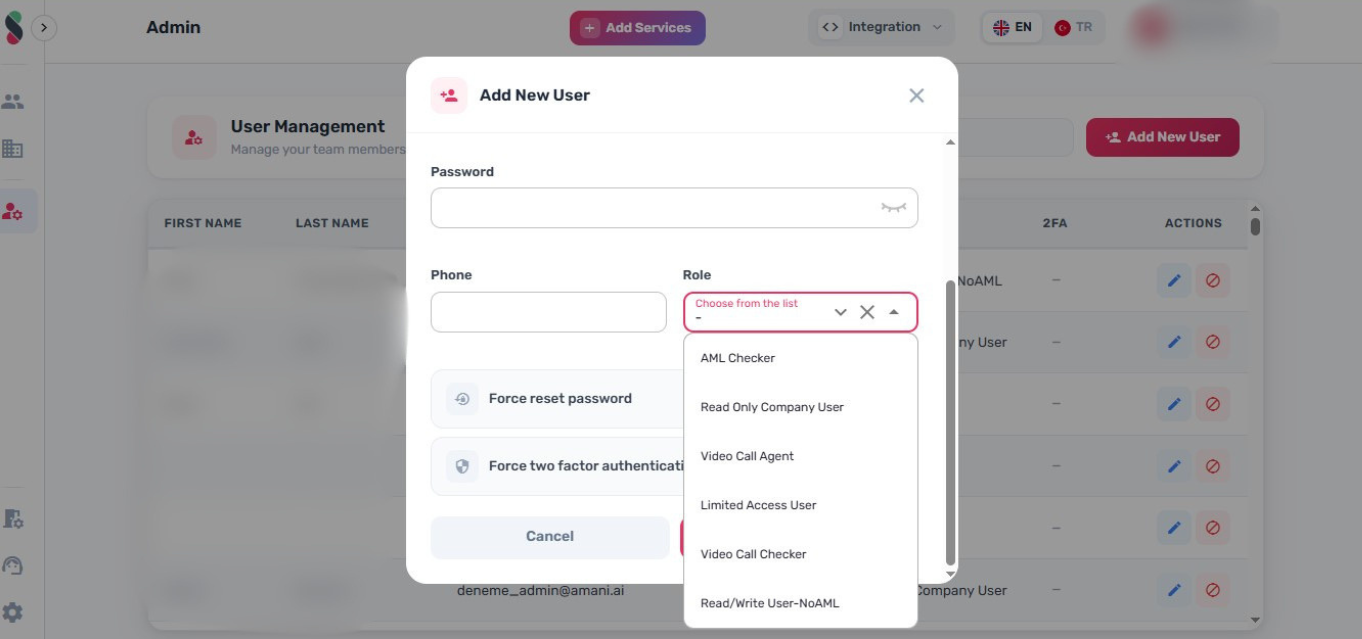
When adding or editing a user, a Role must be assigned. Roles are configured per organization and map to permission groups that control which pages and actions are accessible in Studio.
Permission-driven areas
| Area | Notes |
|---|---|
| Customers (KYC) | View customer list and profiles |
| Calls (Video KYC) | Access call center and in-call tools |
| User Admin | Create, edit, disable users — typically restricted to administrators |
| Company Settings | Webhook, billing, activation, IP whitelist — typically restricted to administrators |
| Travel Rule | Only shown when enabled and permitted |
| BioPay | Settings visibility may be more restricted than attempts visibility |
Available role names are configured per organization. Use the Role dropdown in the Add/Edit User dialog to see roles available in your Studio environment.
Adding a New User
-
Navigate to
/admin -
Click "User Admin" in the left sidebar

- Click "Add New User" to open the user creation form
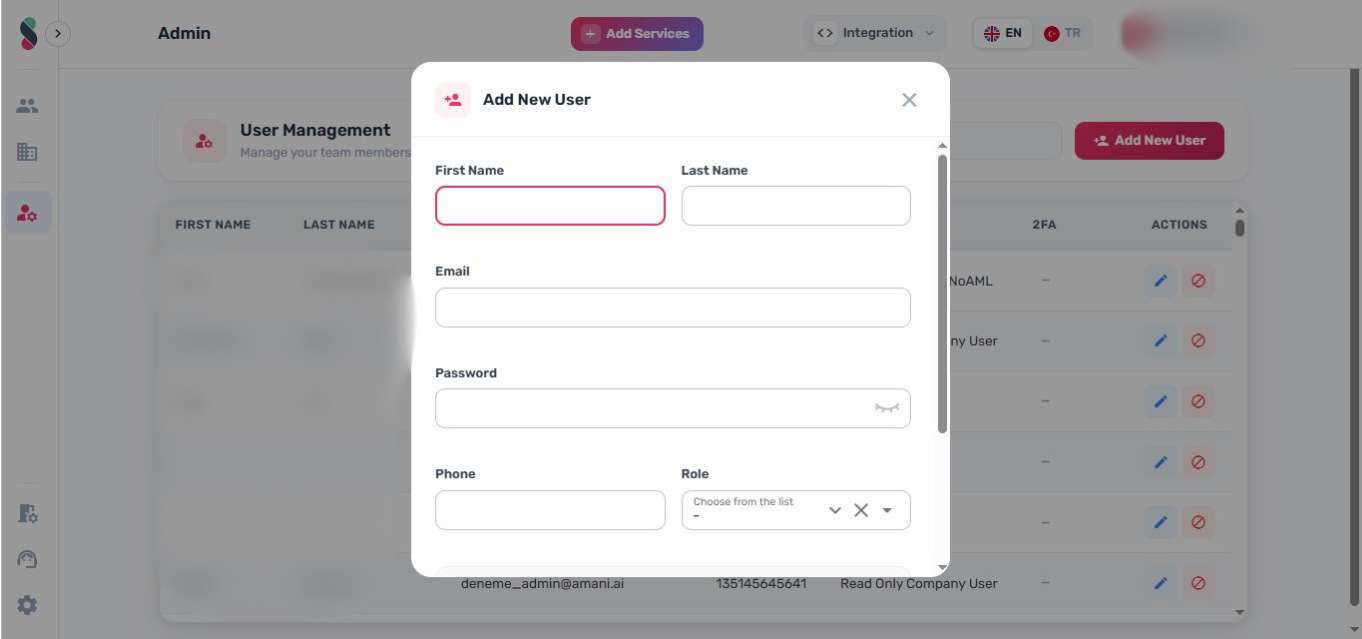
- Fill in the required fields:
| Field | Required | Notes |
|---|---|---|
| First Name | Yes | |
| Last Name | Yes | |
| Yes | Must be a valid email address; used as the username | |
| Password | Yes | Minimum 6 characters, must include lowercase and uppercase |
| Phone | Yes | |
| Role | Yes | Select from the organization's configured roles |
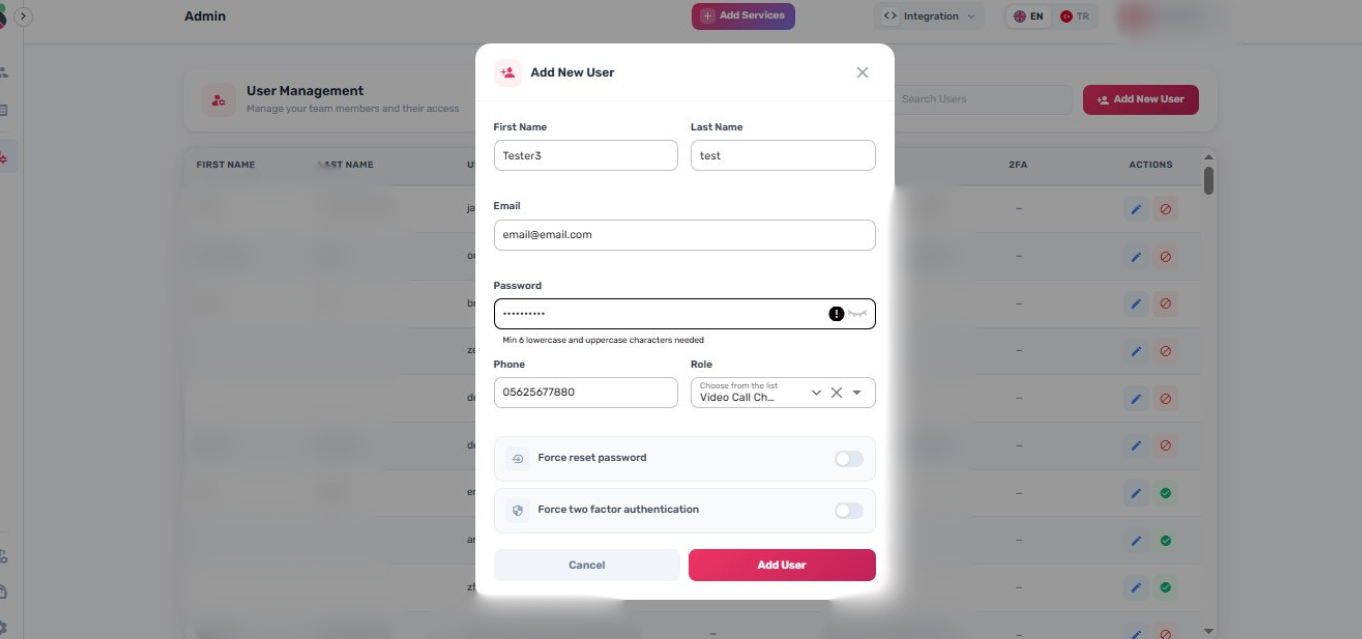
- Optionally configure:
- Force reset password — requires the user to set a new password on next login
- Force two factor authentication — requires the user to configure 2FA on next login
- Click "Add User" to create the account. The new user will receive an invitation by email.
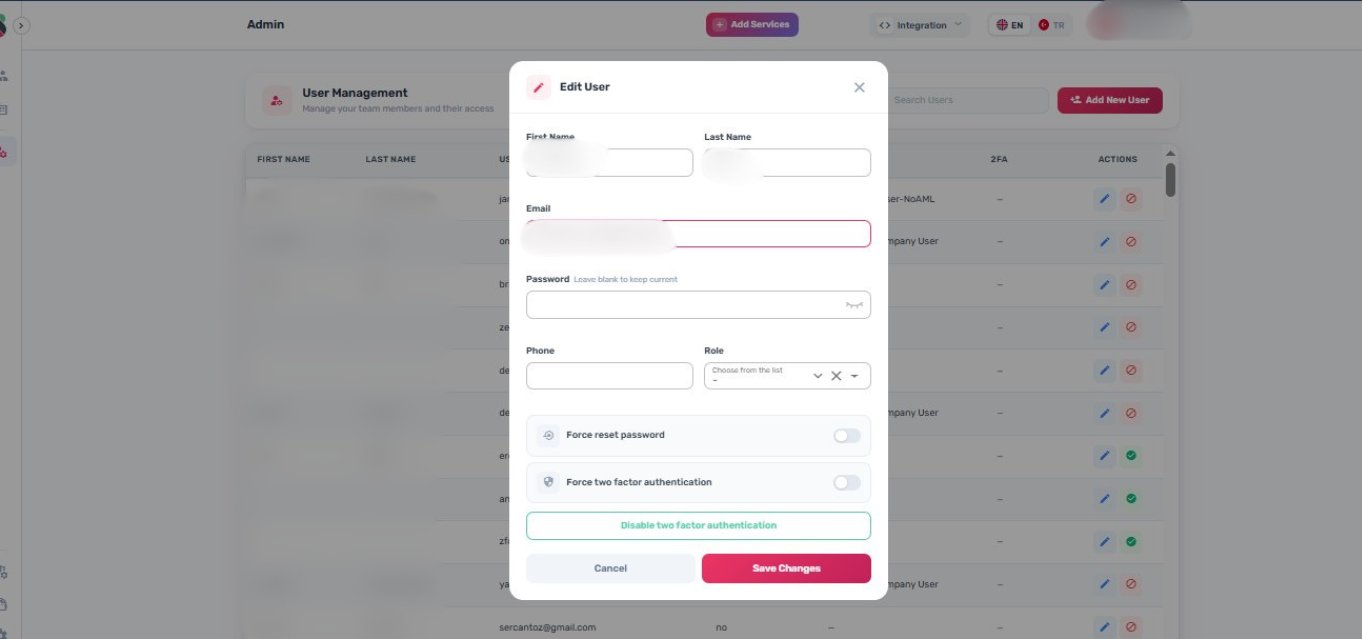
Editing a User
- In the user list, locate the user to update
- Click the Edit (pencil) button in the Actions column
-
Update the relevant fields. The Password field is optional when editing — leave it blank to keep the current password.
-
Available options in edit mode:
- Force reset password — toggle on to require a password reset on next login
- Force two factor authentication — toggle on to require 2FA setup on next login (disabled if 2FA is already enforced)
- Disable two factor authentication — removes the user's existing 2FA configuration; requires a password to be entered in the Password field before this button becomes active
-
Click "Save Changes" to apply updates
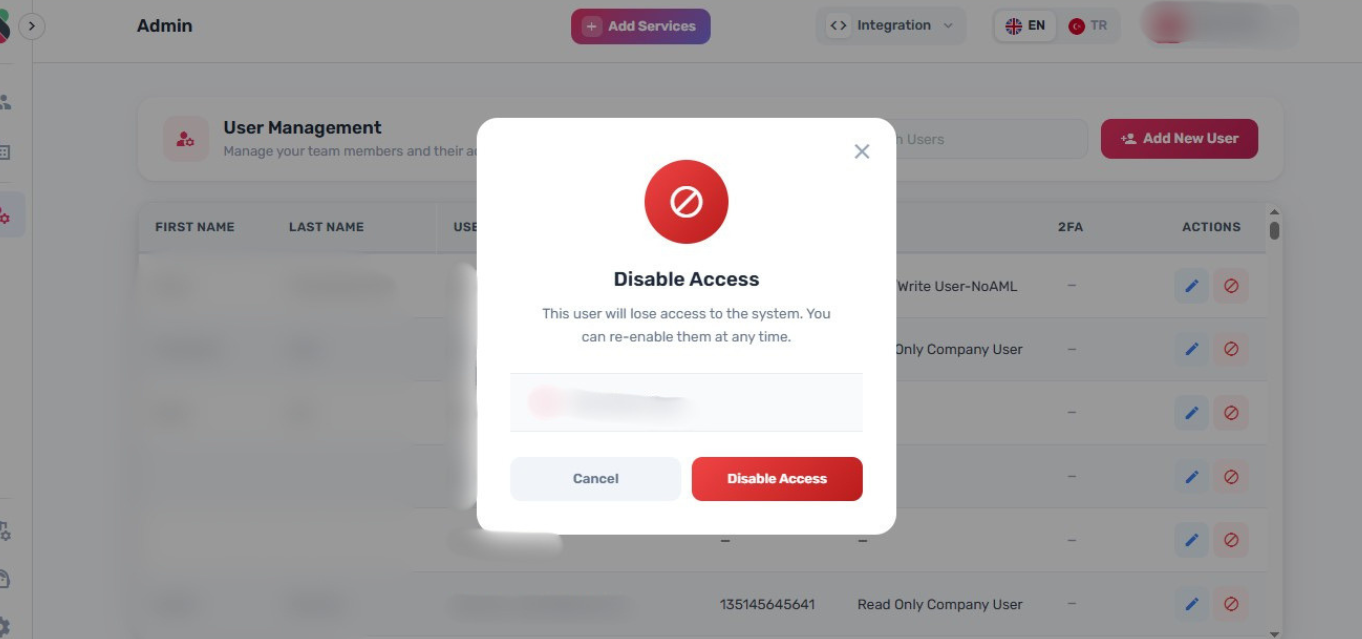
Disabling a User
Disabling a user immediately revokes their access to Amani Studio without deleting their account.
- In the user list, locate the user to disable
- Click the Disable User (block icon) button in the Actions column

- A confirmation dialog appears showing the user's name. Click "Disable User" to confirm, or "Cancel" to abort.
- A status dialog confirms the action. Click "Close" to return to the user list.
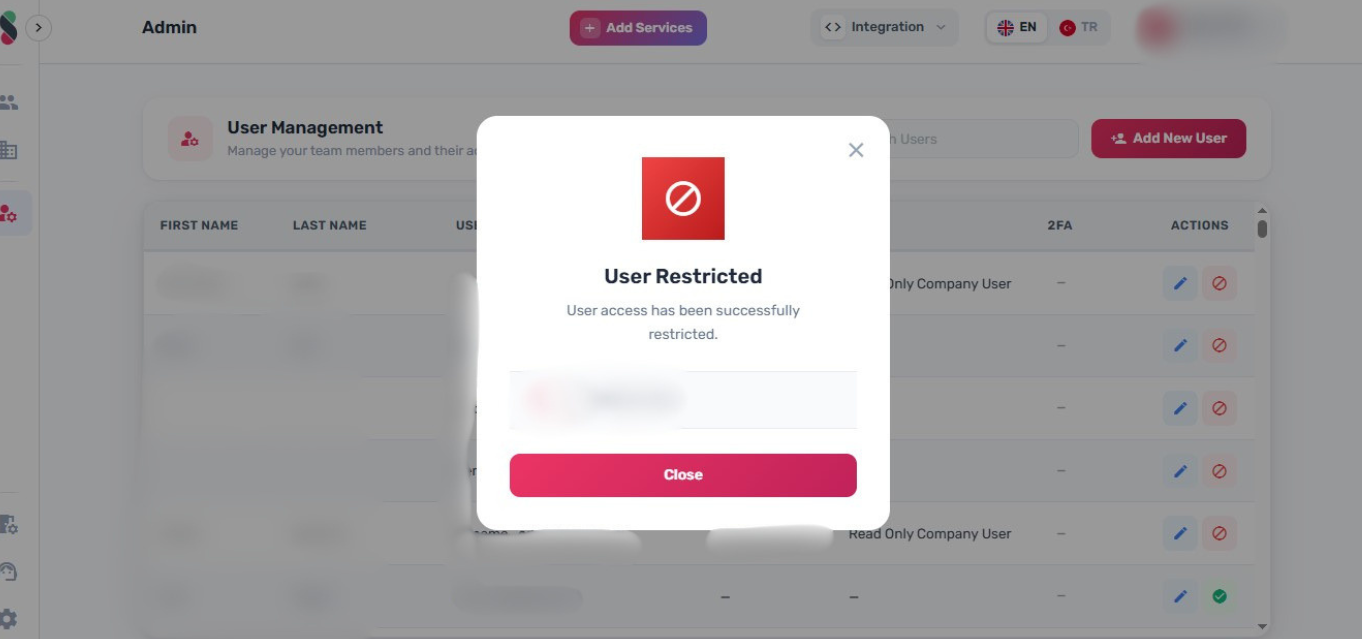
Disabled users cannot log in or access any Studio features until they are re-enabled.
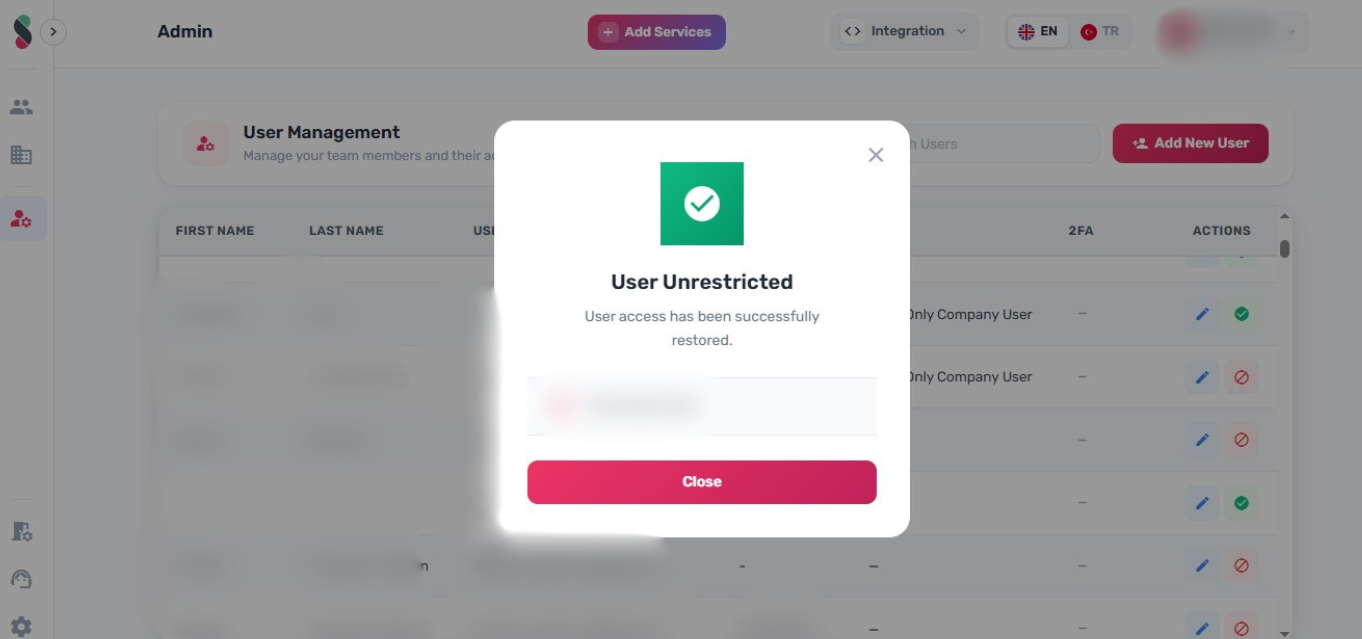
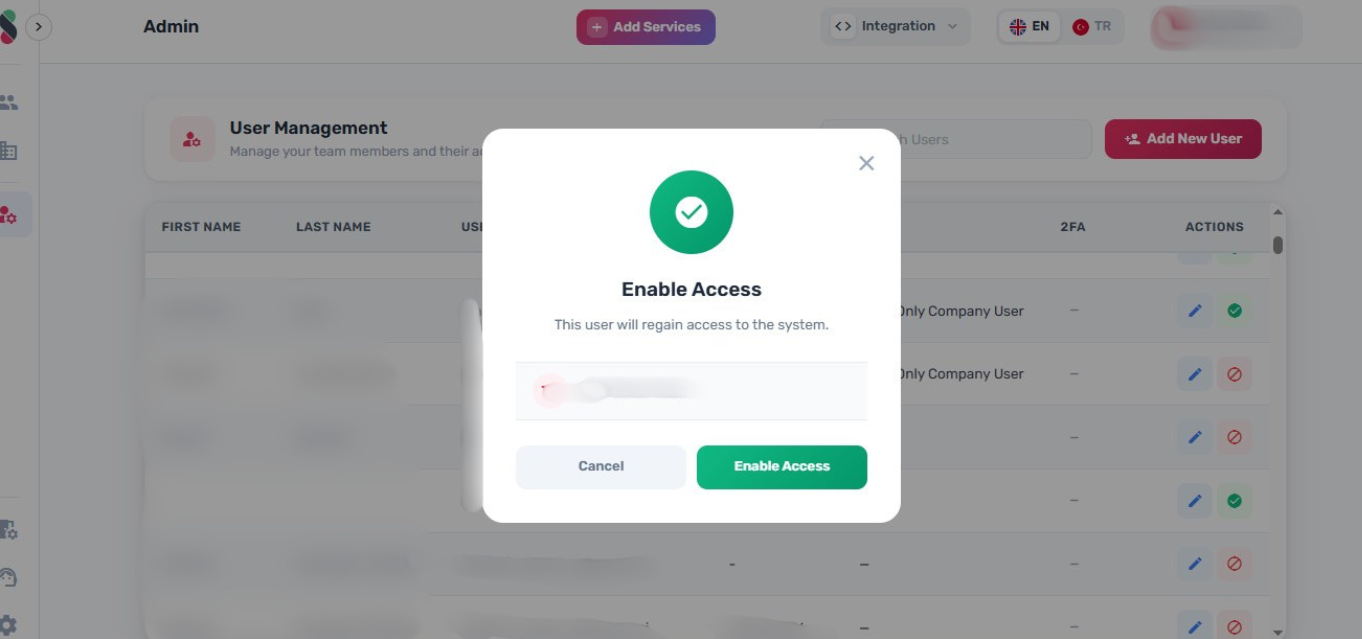
Enabling a User
- In the user list, locate the disabled user
- Click the Enable User (check circle icon) button in the Actions column

- A confirmation dialog appears showing the user's name. Click "Enable User" to confirm, or "Cancel" to abort.
- A status dialog confirms the action. Click "Close" to return to the user list.